Wedding photography requires a wide range of skills, from capturing candid moments to shooting portraits. But one of the most challenging aspects of the job is dealing with low light conditions. In this article, we'll discuss the best camera settings, gear, and techniques for low light photography, helping you take sharp and well-exposed photos regardless of the lighting conditions.
Breaking Down The Best Camera Settings For Low Light Photography
Before venturing into low light conditions, it's important to understand how your camera sees light. Let's start by talking about the best camera settings for low light photography.
Read more: How to Change a Pool Light Without Draining the Water
Setting the Widest Aperture (F-stop)
In low light conditions, using a lens with a wide aperture (low f-number) is crucial to let more light into the camera. A wide aperture also creates a shallow depth of field, adding a beautiful bokeh effect to your photos. Aim for an aperture of around f/2.8 or wider, depending on your lens.
When to Push Your ISO Higher
In low-light situations, you may need to increase your camera's ISO to brighten the image. However, higher ISOs can result in more digital noise or grain. Find a balance between a bright enough exposure and an acceptable level of noise. Most modern cameras can handle ISOs of 1600-3200 without significant noise.
Read more: How To Reset LED Strip Lights?
Choosing the Best Shutter Speed
Using a slower shutter speed can help capture more light in low light conditions. But it also increases the risk of camera shake and motion blur. Consider using a tripod or other stabilizing device to keep your camera steady. If hand-holding, use a shutter speed at least as fast as the focal length of your lens.
Shoot in RAW
Shooting in RAW format captures more information and gives you more flexibility in post-processing. This is especially important in low light conditions, allowing you to recover detail in the shadows and adjust exposure without losing image quality. Don't hesitate to increase exposure during editing to compensate for underexposure while shooting.
Read more: Why Your Solar Lights Are Flashing And How To Fix It
Focus Mode
In low light, autofocus can struggle to find focus points. Switching to manual focus gives you more control. Use the magnifying feature in your camera to zoom in and check focus before capturing the shot. Alternatively, utilize the hyperfocal distance of your wide-angle lenses for pre-focused, sharp images.
The Right Camera Gear for Low Light Conditions
Having the right camera gear makes a significant difference in the quality of your low light photos. Consider the following equipment:
Faster Lenses
Fast lenses with wide apertures, such as f/1.4 or f/1.8, allow more light in, enabling faster shutter speeds. Look for prime lenses in these ranges to capture well-exposed images in low light.
Full Frame Cameras
Full-frame cameras with larger sensors capture more light and produce less noise in low light conditions. They offer better low-light performance than crop-sensor cameras. Consider investing in a full-frame camera for optimal results.
Image Stabilization
Image stabilization compensates for camera shake when shooting handheld in low light. Check if your camera or lenses have built-in image stabilization to ensure sharp photos.
ISO Capabilities
Choose a camera with high ISO capabilities, allowing you to shoot in low light without compromising shutter speed or aperture. Look for cameras that can handle high ISOs without producing excessive noise.
Flash
Consider using an external flash to add additional light to the scene. Use it correctly to avoid overexposure or harsh shadows. Get creative with flash techniques to enhance your low light photos.
Control What You Can
Once you understand the camera settings and have the best gear for low light photography, it's time to get creative. Here are some tips to improve your compositions and exposure in low light:
Position Subject Closer to the Light Source
Make the most of available light by placing your subject in areas with sufficient light. Capture moments when your subject passes near interesting ambient light sources.
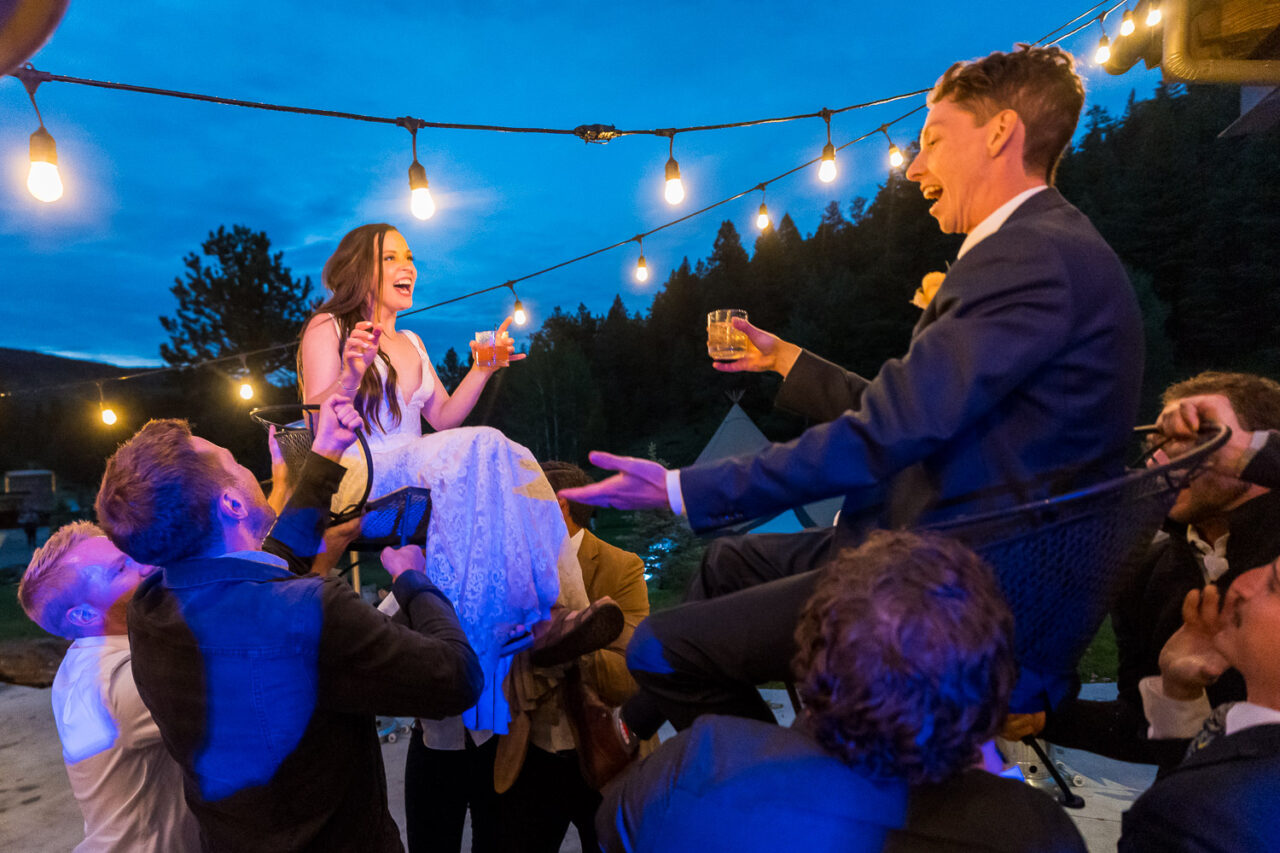
Use Other Light Sources
If available light isn't enough, add artificial light sources like flashes or continuous lights. Use them strategically to illuminate the scene without overpowering it.
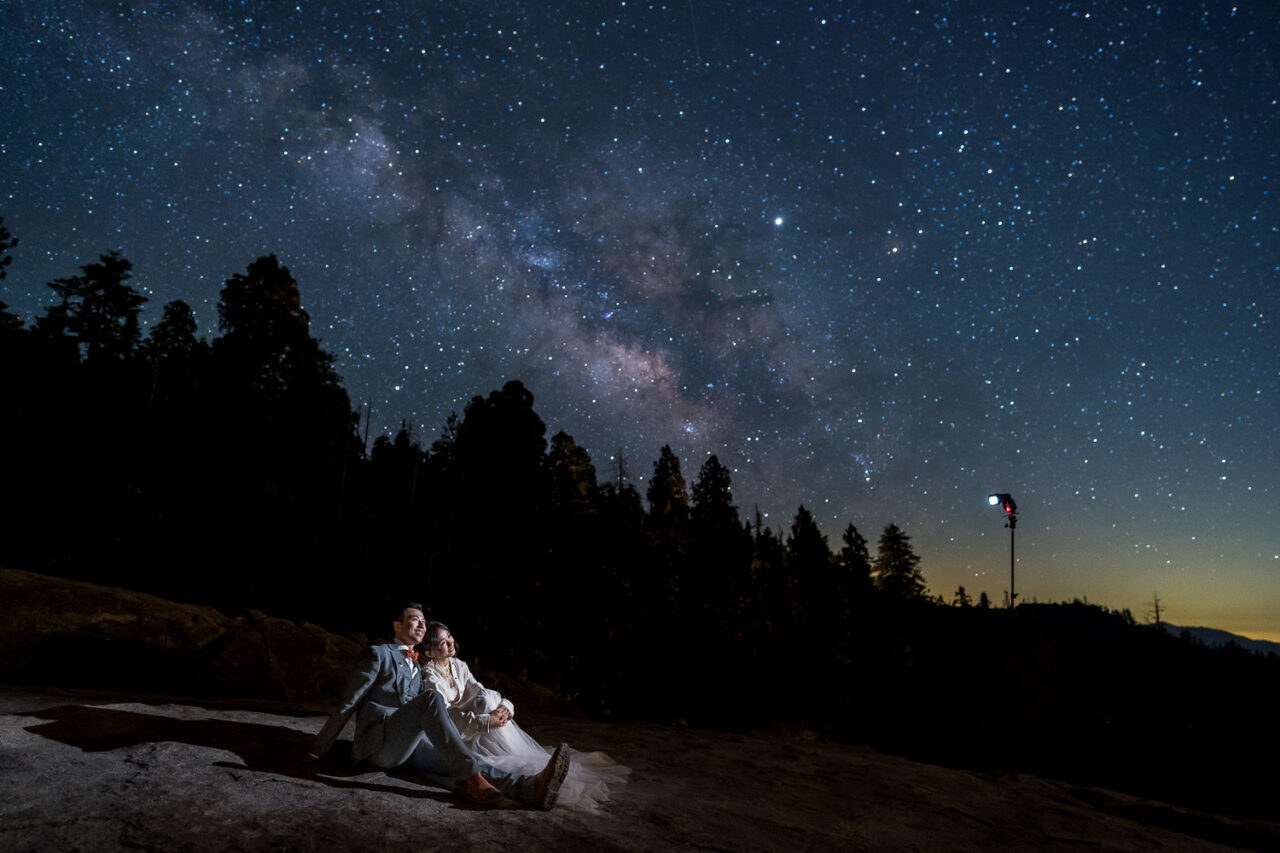
Ambient Light
Consider ambient light as a design element. Utilize market lights or candlelight to create mood and depth in your compositions. Look for layers of ambient light and use off-camera flash to complement the scene.
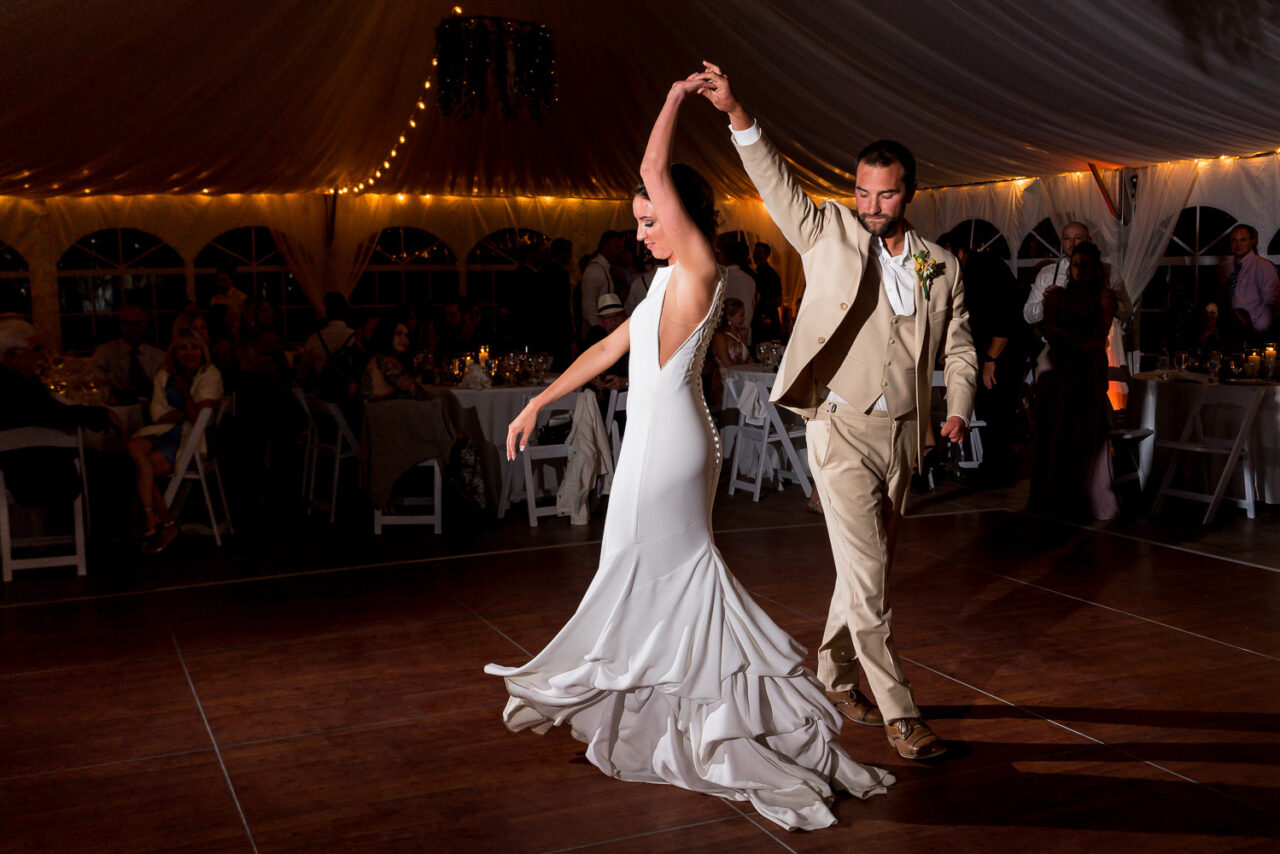
Shoot Long Exposures
If you're limited by a slow shutter speed, embrace it and create creative long exposures. Combine long exposures with flash to freeze your subject and capture motion blur in the surroundings, resulting in unique and dynamic images.
Using a Tripod or Monopod?
In low light conditions, a tripod or monopod helps keep your camera steady, especially when using slower shutter speeds. Consider using one if it enhances your image and composition.
Proper Exposure
Avoid underexposing images in low light conditions. Find a balance between settings to ensure adequate exposure without losing shadow details. Adjust exposure during post-processing if necessary.
Post-Processing
Post-processing plays a vital role in enhancing your low light photos. Consider the following editing techniques:
Noise Reduction
Higher ISOs can introduce digital noise. Use noise reduction tools in editing software to reduce noise while preserving detail. Be careful not to overdo it, as excessive noise reduction can result in loss of detail and a artificial look.
Sharpness
If your low light photos lack sharpness, use sharpening tools to bring back detail and enhance the crispness of your images. Avoid over-sharpening, as it can create a halo effect around edges.
Adjust Exposure
Adjust exposure in post-processing to recover details in the shadows or balance different areas of the composition. This can help improve the overall brightness and tonal range of your low light photos.
Adjust Contrast
Low light photos can appear flat and lack contrast. Adjusting contrast adds depth and dimension to your images. Use curves or levels tools to increase contrast while maintaining a natural look.
Summary of Low Light Photography Skills
Shooting wedding photos in low light can be challenging, but with the right equipment, techniques, and creativity, you can capture stunning and memorable images. Utilize available light, add artificial light when necessary, shoot in RAW, and explore various creative approaches. With these skills, you'll be well-prepared to tackle low light conditions and create beautiful wedding photos.
Frequently Asked Questions
Q: What are the best camera settings for low light photography?
A: The best camera settings for low light photography include using a wide aperture, adjusting your ISO to capture more light, and using a slower shutter speed while keeping the camera steady.
Q: What gear is recommended for low light photography?
A: Recommended gear for low light photography includes lenses with wide apertures, full-frame cameras, image stabilization, high ISO capabilities, and a flash.
Q: How can I improve my low light photography compositions?
A: To improve your low light photography compositions, position your subject closer to the light source, use other light sources strategically, and look for ambient light to create mood and layers in your images.
Q: How can I enhance my low light photos during post-processing?
A: During post-processing, you can enhance your low light photos by reducing noise, adjusting sharpness, fine-tuning exposure, and adjusting contrast to bring out details and depth in your images.